This post was written for Xperience by Kentico v28.3.0. Please consult the documentation for any feature or API changes when using a different version. Be sure to check the System Requirements in the product documentation.
In Xperience by Kentico solutions, most autoresponder emails for Form Builder forms should be managed in an Email channel.
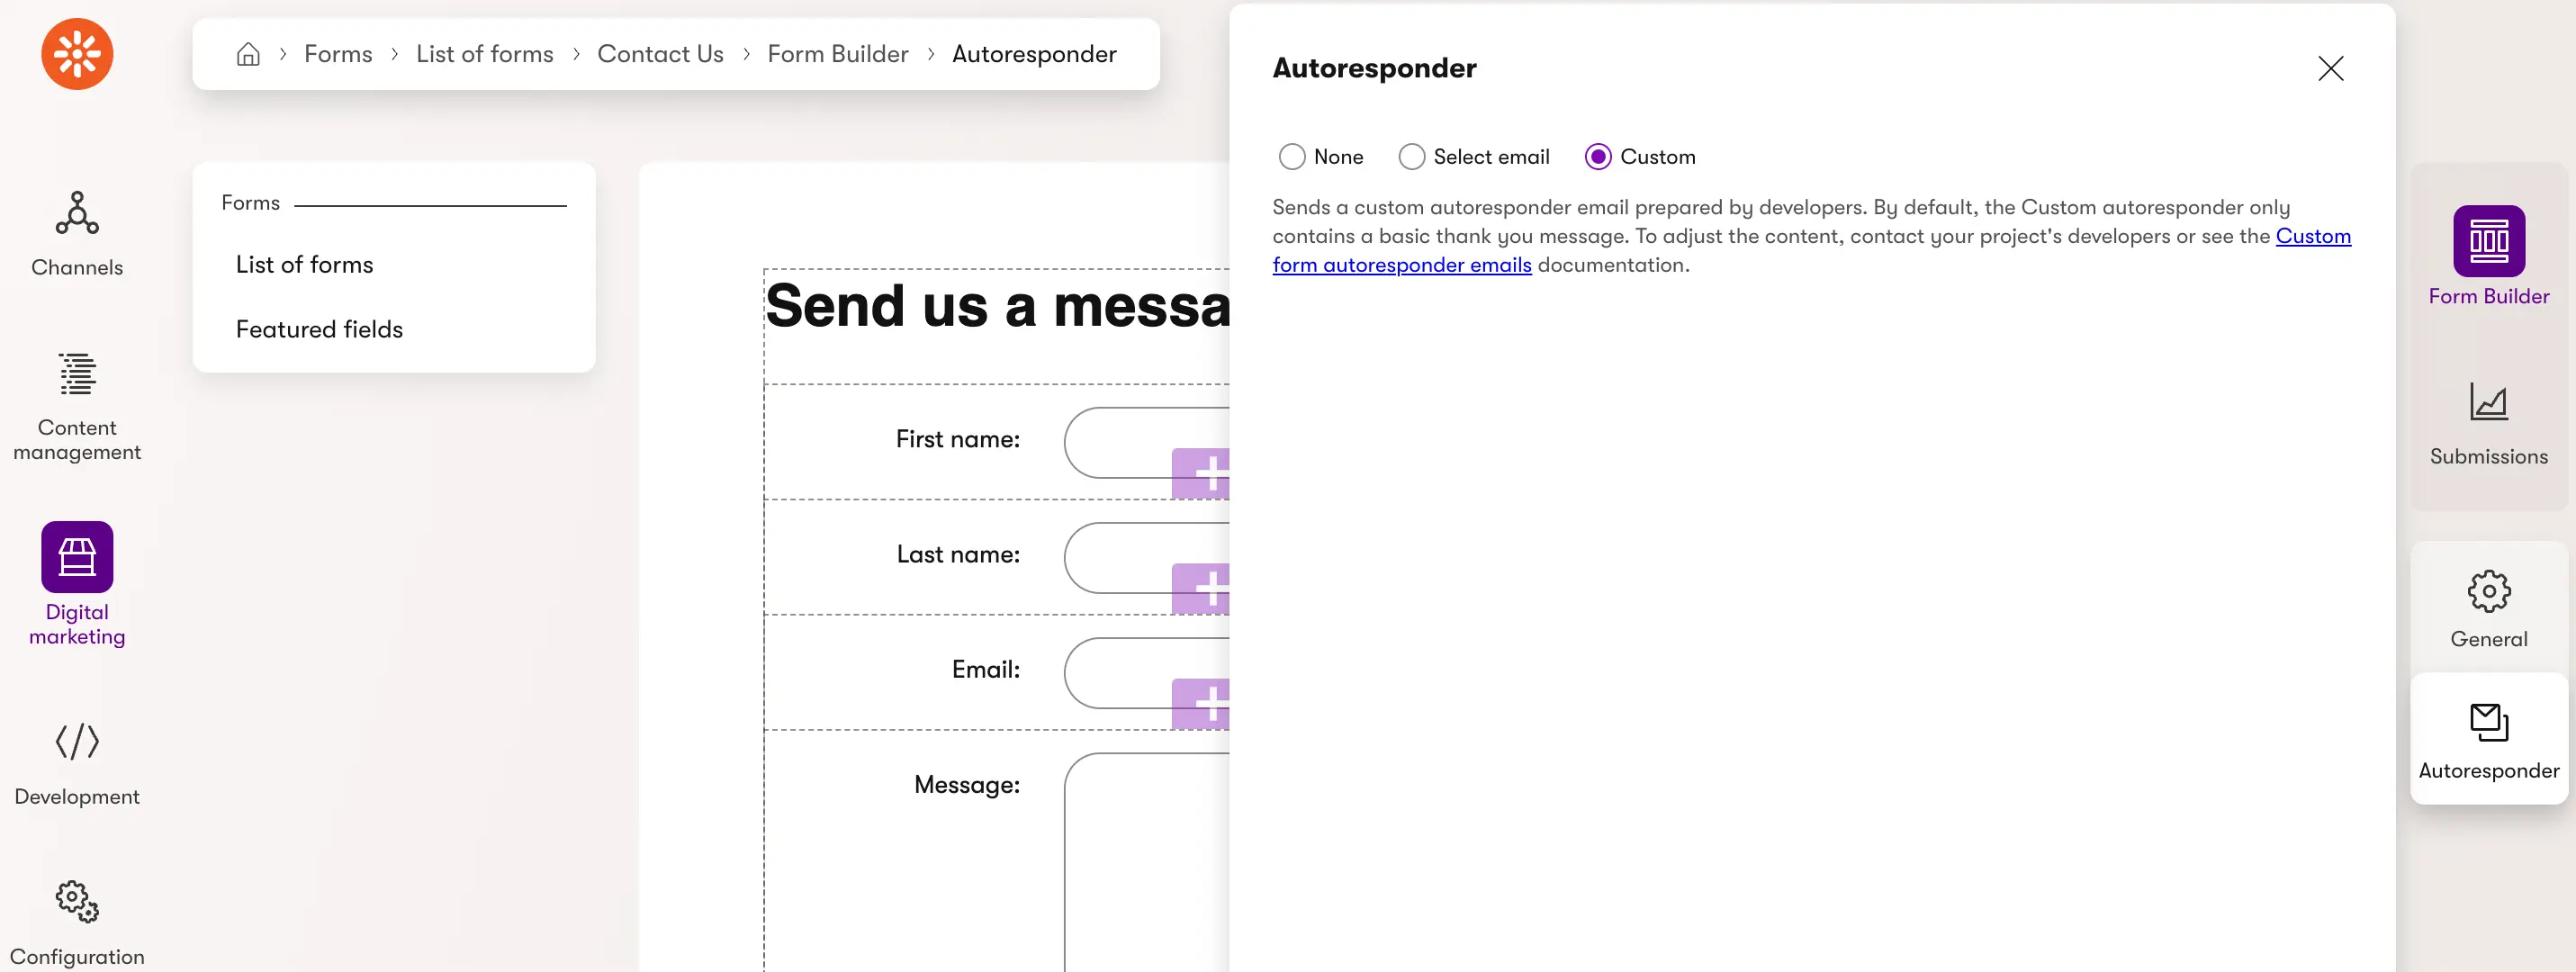
But, Xperience's Form Builder forms support a custom autoresponder option, with the following instructions:
Sends a custom autoresponder email prepared by developers. By default, the Custom autoresponder only contains a basic thank you message. To adjust the content, contact your project's developers or see the Custom form autoresponder emails documentation.
These "developer managed" autoresponder emails don't provide a way for marketers to manage the email content, but they do let developers fully customize them in ways that aren't available through email channels.
For example, this approach could be used when we need to send a confirmation of the form submission to different recipients depending on the content of the email or insert some dynamic (form value dependent) content into the email.
This kind of email marketing customization will be possible in a marketer-friendly way with some of the features we have on our roadmap.
To take this custom path and implement the autoresponder email in code, developers must implement an IFormSubmitAutomationEmailProvider.
[assembly: RegisterImplementation(
    implementedType: typeof(IFormSubmitAutomationEmailProvider),
    implementation: typeof(EmailAutoresponderProvider))]

namespace DancingGoat;

public class EmailAutoresponderProvider(
    IFormSubmitAutomationEmailProvider defaultProvider)
    : IFormSubmitAutomationEmailProvider
{
    private readonly IFormSubmitAutomationEmailProvider defaultProvider = defaultProvider;

    public async Task<AutomationEmail> GetEmail(BizFormInfo form, BizFormItem formData, ContactInfo contact)
    {
        await defaultProvider.GetEmail(form, formData, contact);
    }
}
The constructor injected IFormSubmitAutomationEmailProvider is the default one that Xperience provides for us which
sends a simple, standard message. We'll always want to replace this with our own custom implementation, but it's
a convenient fallback.
Since we're in C# here, there's a tendancy to author the AutomationEmail.Body as a C# string. This is less than ideal.
public async Task<AutomationEmail> GetEmail(BizFormInfo form, BizFormItem formData, ContactInfo contact)
{
    var email = new AutomationEmail
    {
        Subject = "Thanks for contacting us",
        Body = $"Hello {contact.ContactFirstName}, <br />" +
            "thank you for contacting us. You sent us the following message:<br />" +
            formData.GetStringValue("UserMessage", ""),
        Sender = "[email protected]",
        Recipients = [contact.ContactEmail]
    };

    return Task.FromResult(email);
}
This is pretty limiting and difficult to validate if we have an email template that includes all the ugly parts that are required for HTML emails.
However, we can use other technologies to author the email template, making it more readable. If we use ASP.NET Core Razor components, and render them outside of a ASP.NET Core HTTP request, we can even make the template composed from a hierarchry of reusable components.
Let's see how!
Razor components
First, we'll make a very simple Razor component in our ASP.NET Core project. You can add this wherever you want in your project, but the namespace for the component will automatically be set as the filesystem path to the file.
@* ContactUsEmailTemplateComponent.razor *@

@using CMS.ContactManagement

<h1>Thanks for contacting us</h1>

<p>@Contact.ContactFirstName, thank you for contacting us.</p>

@code {
    [Parameter]
    public ContactInfo Contact { get; set; }
}
Component rendering
We'll be specifying the "custom" option for the autoresponder for a specific form. We should generate the C# classes for that form to make our code more robust.
We can see how to do this for forms in the Xperience documentation.
Once the form class is generated, we can create a new "partial" class for the form to extend it. That's where we'll add the email creation logic.
In this example I'm using the Dancing Goat "Contact Us" form and creating a DancingGoatContactUsItem.cs file along side the DancingGoatContactUs.generated.cs file that is generated.
public partial class DancingGoatContactUsItem
{
    public static async Task<AutomationEmail> GenerateAutoresponderEmail(
        IServiceProvider serviceProvider,
        ILoggerFactory loggerFactory,
        ContactInfo contact)
    {
        using var scope = serviceProvider.CreateScope();
        await using var htmlRenderer = new HtmlRenderer(scope.ServiceProvider, loggerFactory);

        string html = await htmlRenderer.Dispatcher.InvokeAsync(async () =>
        {
            var dictionary = new Dictionary<string, object?>
            {
                // Reference to the Razor component type's properties to ensure we get the property name right
                { nameof(ContactUsEmailTemplateComponent.Contact), contact }
            };

            var parameters = ParameterView.FromDictionary(dictionary);
            var output = await htmlRenderer.RenderComponentAsync<ContactUsEmailTemplateComponent>(parameters);

            return output.ToHtmlString();
        });

        return new AutomationEmail
        {
            Subject = "Thanks for contacting us",
            Body = html,
            Sender = "[email protected]",
            Recipients = [contact.ContactEmail]
        };
    }
}
ASP.NET Core 8.0 does the heavy lifting here, allowing us to render the Razor component (and any children it has) as a string.
We can then set this string as the HTML body of the AutomationEmail we need to create and return.
Custom AutoresponderEmailProvider
Finally, we create a IFormSubmitAutomationEmailProvider that can determine how we create the AutomationEmail based on the
name of the form the form submission came from.
If we have multiple forms using the "custom" autoresponder option, we can handle all of them here by generating their C# classes
and adding them to the switch expression.
[assembly: RegisterImplementation(
    implementedType: typeof(IFormSubmitAutomationEmailProvider),
    implementation: typeof(RazorEmailAutoresponderProvider))]

namespace DancingGoat;

public class RazorEmailAutoresponderProvider(
    IFormSubmitAutomationEmailProvider defaultAutomationEmailProvider,
    IServiceProvider serviceProvider,
    ILoggerFactory loggerFactory) : IFormSubmitAutomationEmailProvider
{
    private readonly IFormSubmitAutomationEmailProvider defaultAutomationEmailProvider = defaultAutomationEmailProvider;
    private readonly IServiceProvider serviceProvider = serviceProvider;
    private readonly ILoggerFactory loggerFactory = loggerFactory;

    public async Task<AutomationEmail> GetEmail(BizFormInfo form, BizFormItem formData, ContactInfo contact)
    {
        if (string.IsNullOrEmpty(contact.ContactEmail))
        {
            return null;
        }

        return form.FormName switch
        {
            DancingGoatContactUsItem.CLASS_NAME =>
                await DancingGoatContactUsItem.GenerateAutoresponderEmail(serviceProvider, loggerFactory, contact),
            _ =>
                await defaultAutomationEmailProvider.GetEmail(form, formData, contact)
        };
    }
}
Email rendering
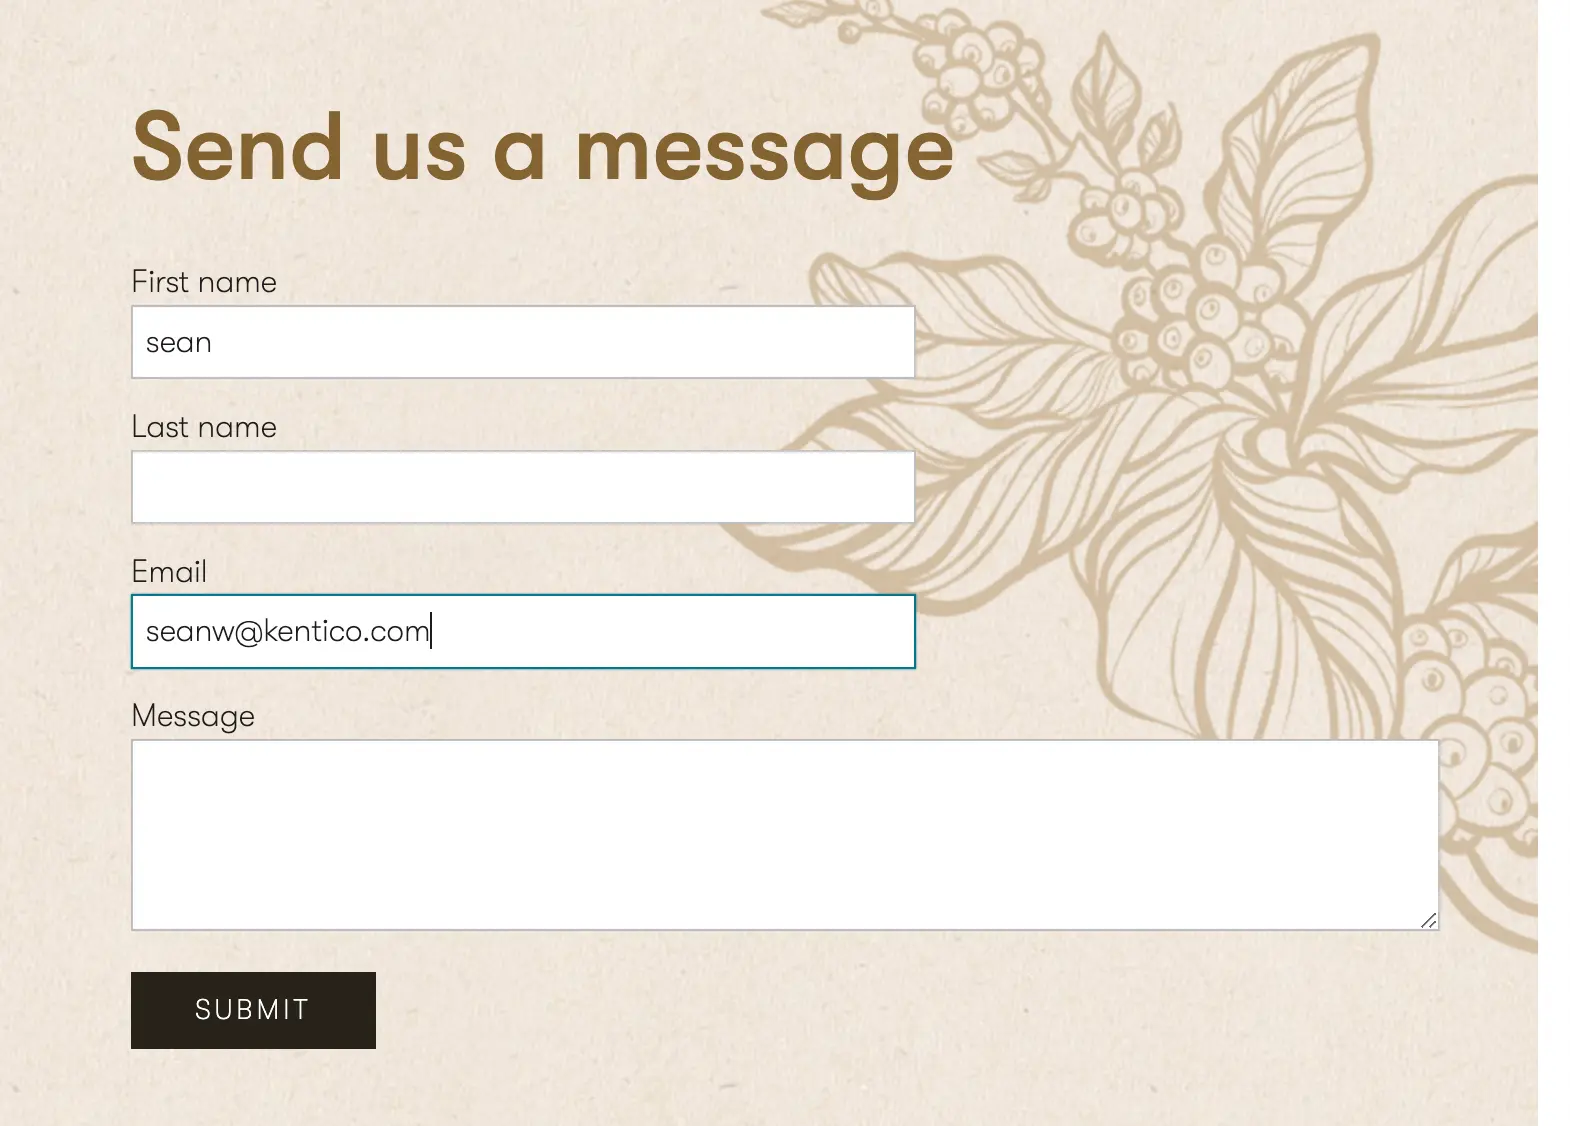
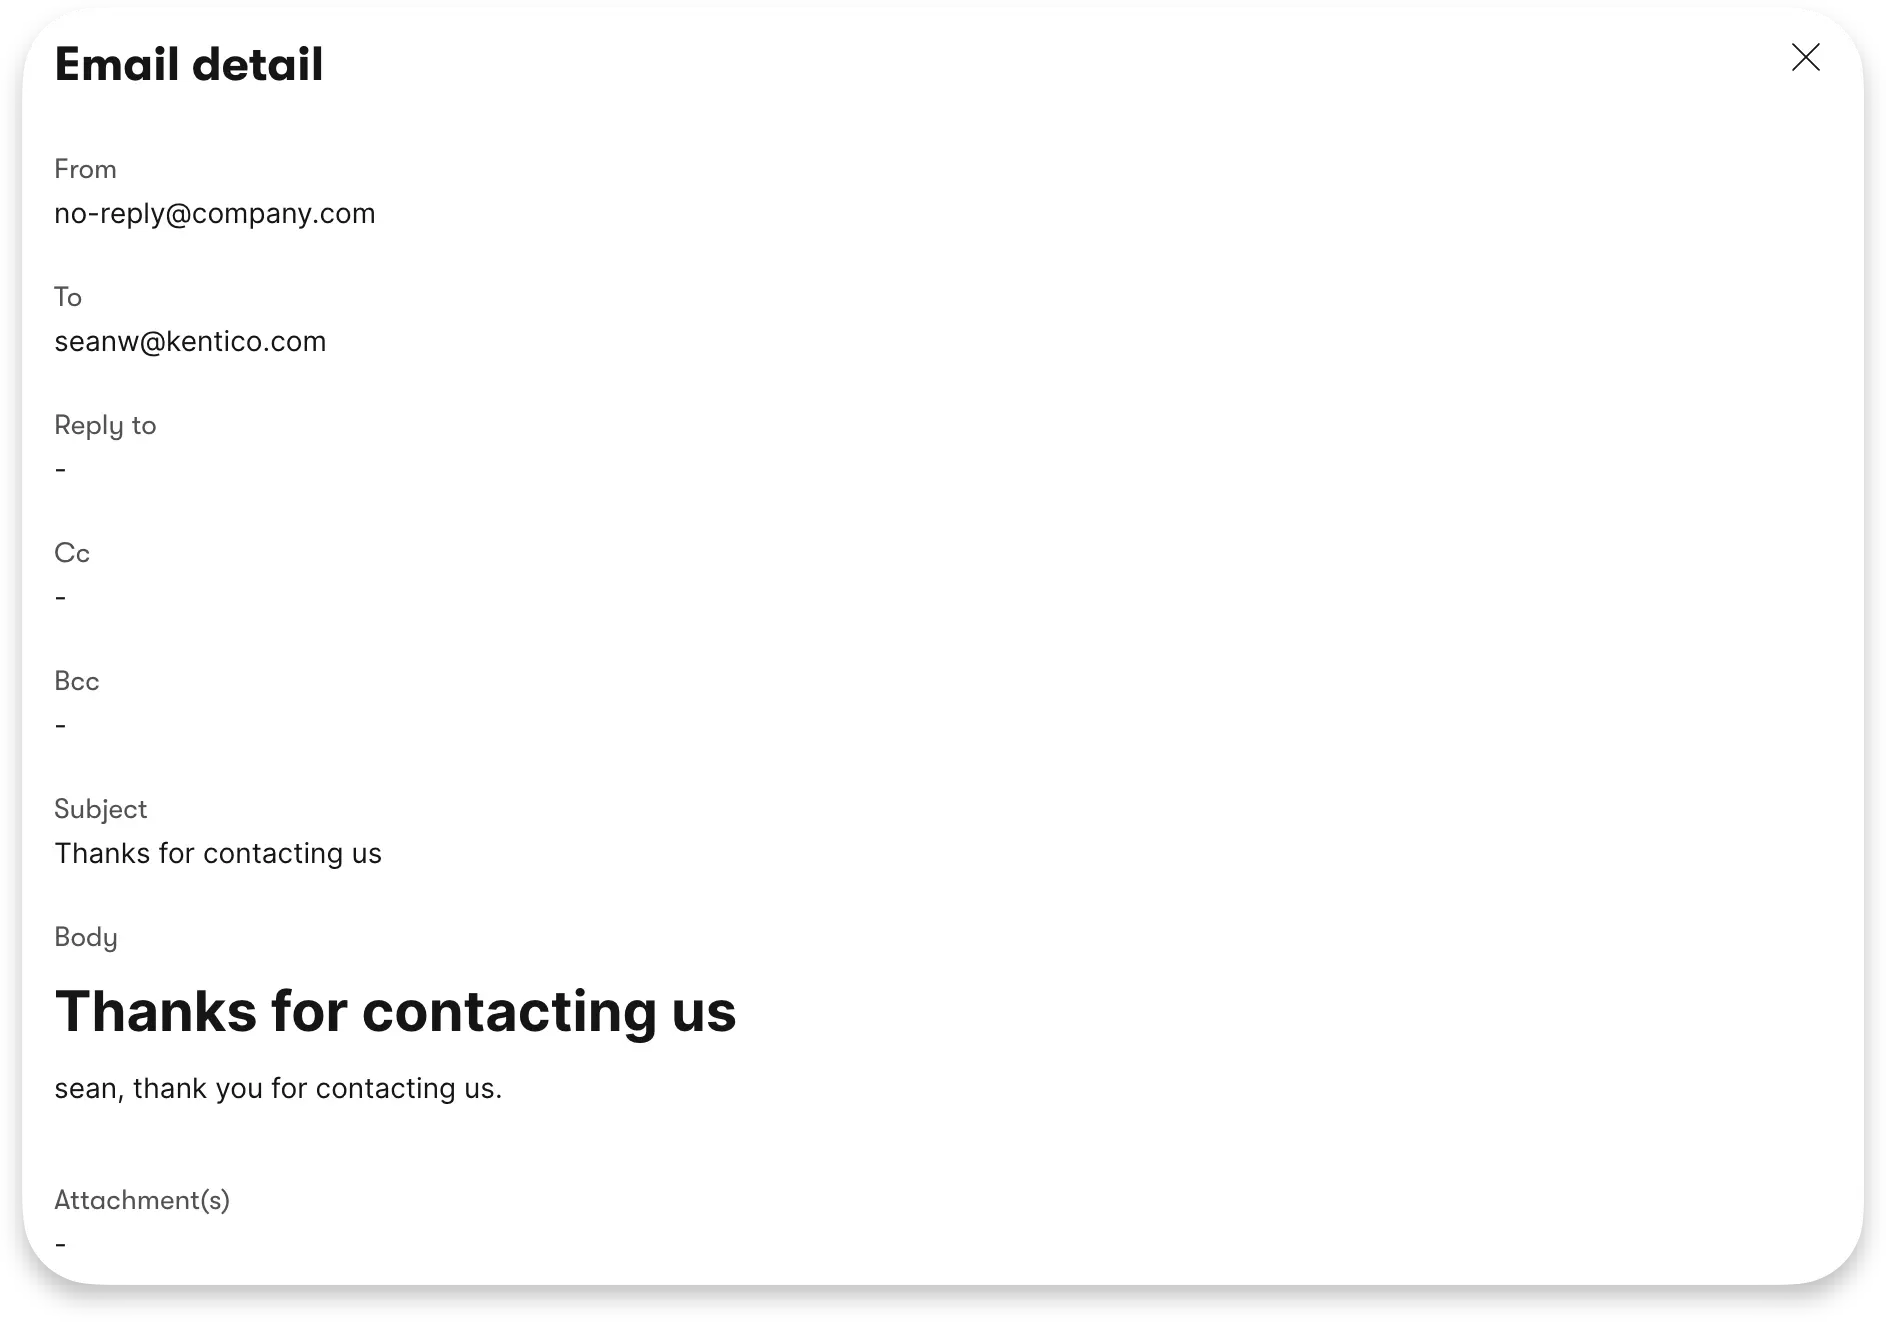
When we fill out the form and submit, we'll be able to see our email rendered in the email queue.
We use the power of Razor in our Razor components to templatize the content and do things like loops and conditionals.
It should be noted that loops and conditionals are possible in K#, which is the syntax used for authoring Email templates used by Emails created by marketers. We should first try to create the emails and templates through Email channels because they enable marketers to author and customize email content without developers.

Sean Wright
I'm Lead Product Evangelist at Kentico. I'm part of the Product team at Kentico along with David Slavik, Dave Komárek, Debbie Tucek, Martin Králík, and Martina Škantárová. My responsibilities include helping partners, customers, and the entire Kentico community understand the strategy and value of Xperience by Kentico. I'm also responsible for Kentico's Community Programs.


